Achieving invisible balance in sculpture isn’t about hiding supports; it’s about mastering the physics of gravity as a structural engineer would.
- The center of gravity is not a fixed point to be found, but a variable to be controlled through material choice and internal structure (tensegrity).
- Advanced techniques like multi-density casting and projection mapping can manipulate perceived weight to create illusions of impossible balance.
Recommendation: Shift your thinking from “how do I prop this up?” to “how does this entire system distribute its load?”
There is a unique, gravitational dread every sculptor knows: the slow, silent lean of a figure that signals an impending collapse. You’ve spent hours shaping the clay, capturing a gesture, only to have gravity reclaim your work. The common advice is to simply “use a wire armature” or “make the base heavier,” treating balance as a problem of brute force or concealment. This approach, however, misses the fundamental truth of three-dimensional art.
But what if the true art of balance wasn’t about fighting gravity, but about entering into a dialogue with it? The secret to creating figures that seem to float, to cantilever impossibly into space without any visible support, lies not in hiding the structure, but in transforming the entire sculpture into a self-supporting structural system. This requires thinking less like a traditional artist and more like a structural engineer, manipulating forces, material densities, and even perception itself.
This guide will deconstruct the engineering principles behind sculptural stability. We will move from the foundational skeleton of the armature to advanced techniques that use material science and light to create illusions of weightlessness. We’ll explore how the physics of sound and the legalities of public art all contribute to the single goal of achieving perfect, seemingly impossible balance.
For those who prefer a hands-on approach, the following video demonstrates a simple experiment that illustrates the core principles of center of gravity and balance we will explore in technical detail throughout this guide.
To navigate this deep dive into the physics of sculpture, we have structured the article to build from foundational concepts to advanced applications. The following summary outlines the key engineering challenges and solutions we will address.
Summary: A Structural Approach to Sculptural Balance
- Why Is Wire Armature Essential for Clay Figures Over 6 Inches?
- How to Make a Silicone Mold Without Trapping Air Bubbles?
- Carving or Modeling: Which Approach Suits Your Thinking Style?
- The “Explosion” Mistake: Why Kneading Your Clay Improperly Destroys the Kiln?
- Where to Place the Focal Point for a 360-Degree Viewer Experience?
- How to Stack Speaker Boxes to Avoid Phase Cancellation Outdoors?
- How to Map Video Projections onto 3D Sculptures for Stage Design?
- How to Paint a Mural on a Public Wall Without Getting Arrested?
Why Is Wire Armature Essential for Clay Figures Over 6 Inches?
For any sculpture rising over six inches, clay’s own weight becomes its greatest enemy. An internal armature is not merely a “support”; it is an engineered endoskeleton designed to redirect gravitational loads. A simple wire bent into shape is a start, but a professional approach involves creating a tensegrity system—a structure where rigid compression members (the main wires) are balanced by a network of tension elements (secondary wires). This distributes stress throughout the form rather than concentrating it at the base. The first step in this engineering process is locating the sculpture’s theoretical center of gravity (CG), the single point where its entire weight can be considered to be concentrated. Once you know the CG, you can design the armature to provide support directly below and in opposition to it.
The choice of material for this skeleton is a critical structural decision. Each metal possesses distinct properties of malleability, strength, and chemical reactivity that dictate its suitability for a given project. A common mistake is choosing a wire based on convenience rather than its engineering specifications, leading to armature failure through fatigue or corrosion.
The following table, based on data from material specialists, breaks down the structural properties of common armature wires.
| Material | Gauge Range | Malleability | Clay Reaction | Best Use Case |
|---|---|---|---|---|
| Aluminum | 9-16 | Excellent | No reaction | Large sculptures, dynamic poses |
| Steel | 24-28 | Poor | May rust with water-based | Small details, rigid support |
| Copper | 12-18 | Good | Oxidizes with moisture | Medium sculptures, avoid with water-based clay |
To ensure your internal structure is sound before you even apply the first piece of clay, a systematic audit is necessary. This checklist transforms armature building from guesswork into a deliberate engineering process.
Audit Plan: Validating Your Armature’s Structural Integrity
- Points of contact: List all load-bearing points and joints where the armature will directly support the clay mass, especially at the extremities of a pose.
- Collecte: Inventory your materials (wire gauges, epoxy putty) and check them against the material properties required for the sculpture’s scale and clay type.
- Cohérence: Confront the armature design with the calculated center of gravity. Does the structure actively provide counter-tension and compression to neutralize gravitational pull?
- Mémorabilité/émotion: Assess the pose. Does the armature enable a dynamic, memorable pose that seems to defy gravity, versus a static, safe one?
- Plan d’intégration: Define the sequence for applying clay, identifying critical stress points (like extended limbs) that must be reinforced with epoxy putty first.
Ultimately, a well-built armature is the first step in creating a sculpture that doesn’t just stand up, but performs a gravitational dance.
How to Make a Silicone Mold Without Trapping Air Bubbles?
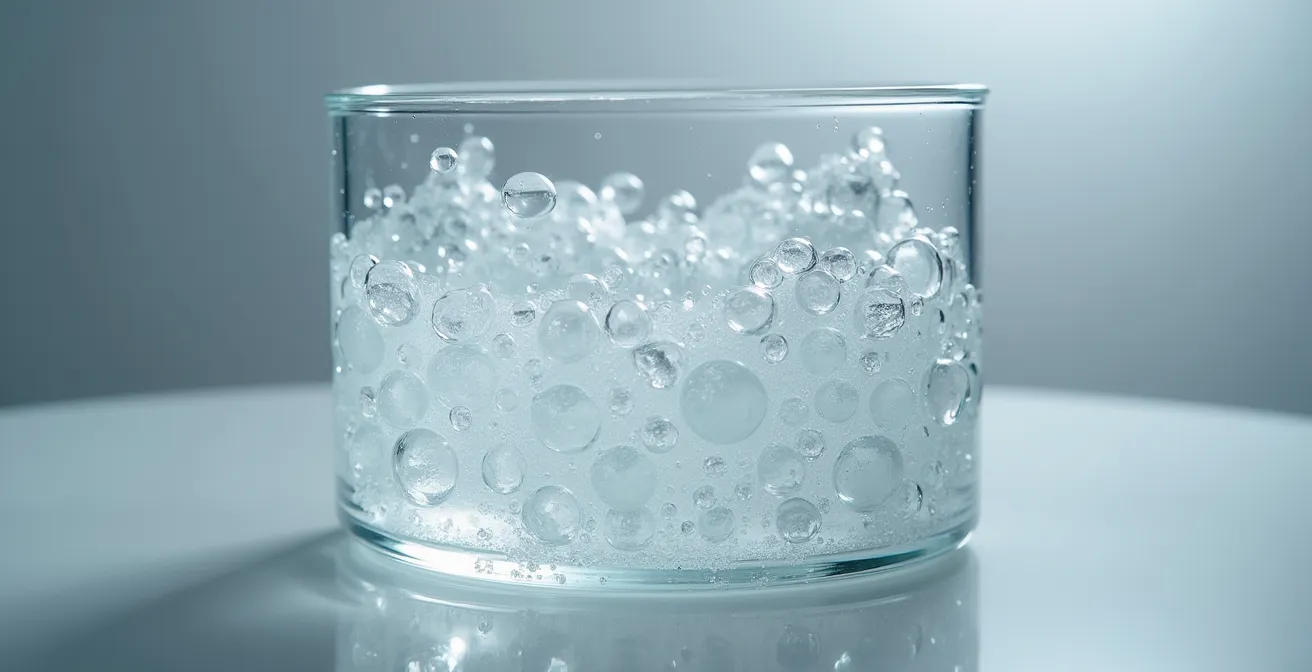
When you want to replicate a perfectly balanced form or create balance illusions with multi-density casting, air is your enemy. Tiny air bubbles trapped in a silicone mold translate into surface imperfections and, more critically, structural weaknesses in the final cast. While careful pouring helps, the only truly effective method for eliminating all micro-bubbles is degassing the silicone in a vacuum chamber. This process subjects the liquid silicone to negative pressure, causing trapped air bubbles to expand, rise to the surface, and pop. For professional results, industry standards dictate that vacuum pumps must pull 29 inches of mercury (inHg) to ensure complete air removal from high-viscosity silicones.
The visual of silicone rising and collapsing in the chamber is a physical demonstration of gas escaping the liquid. It is a crucial step for achieving flawless surface detail and structural integrity.
Beyond replication, this level of technical precision in mold-making unlocks advanced strategies for engineering balance. By creating a perfect, void-free mold, you can cast different parts of a sculpture with materials of radically different densities, manipulating the final object’s center of gravity in ways that appear to defy physics.
Case Study: Multi-Material Casting for Balance Illusions
Professional model makers achieve impossible balance by casting different densities within a single piece. One documented technique involves creating a hollow upper section using lightweight foam resin while embedding tungsten powder-filled resin in the base. The vacuum casting process is essential for ensuring no air is trapped in either the lightweight or heavyweight resin. The resulting piece appears to defy physics when the incredibly dense base (specific gravity ~3.5) supports an apparently heavy but actually hollow top section (specific gravity ~0.8). This allows sculptures to balance on points smaller than a 5mm diameter, creating a powerful illusion of weightlessness.
This control over material density is the next level of the gravitational dialogue, allowing you to dictate where the weight of an object *actually* is, regardless of where it *appears* to be.
Carving or Modeling: Which Approach Suits Your Thinking Style?
The choice between carving (a subtractive process) and modeling (an additive process) is more than a technical preference; it’s a reflection of your cognitive style and your relationship with gravity. Modeling with clay is an iterative conversation. You add mass, test the balance, add more, and adjust. You can afford mistakes. The center of gravity can be methodically shifted and corrected at each stage. It is an analytical approach, favoring planning and incremental adjustments.
Carving, by contrast, is a high-stakes, irreversible commitment. Every piece of stone or wood removed permanently alters the object’s mass and shifts its center of gravity. This demands an intuitive, holistic understanding of the form. As structural engineer Rebecca Lubrano states in an analysis for Structure Magazine, a journal on the engineering of art, the process is one of discovery.
Every cut irreversibly shifts the center of gravity, making carving an approach for those who embrace risk and intuition. The sculptor must maintain a constant dialogue with the material, as balance is discovered rather than engineered.
– Rebecca Lubrano, PE, Structure Magazine
Carvers must possess strong spatial visualization skills, the ability to mentally rotate the 3D form and predict how removing a section will affect the whole system’s equilibrium. While modelers can build up a structure to find balance, carvers must find the balance that already exists within the raw block. Some professionals utilize a hybrid approach, carving a dense, stable core from stone or wood to establish the primary balance equation, then modeling lighter, more complex details with clay or wax on the surface. This combines the foundational stability of carving with the iterative flexibility of modeling.
Whether you build up or cut away, the fundamental challenge remains the same: to command the object’s relationship with the unyielding force of gravity.
The “Explosion” Mistake: Why Kneading Your Clay Improperly Destroys the Kiln?
A sculpture exploding in the kiln is a catastrophic structural failure at a molecular level. The culprit isn’t a flaw in the kiln, but a failure in the sculpture’s internal engineering. The primary cause is trapped moisture turning violently into steam when heated past boiling point. If that steam has no escape route, the pressure builds until it exceeds the clay’s tensile strength, resulting in a powerful explosion. Proper kneading helps remove large air pockets, but the more critical structural issue is uniform wall thickness. A section of clay thicker than one inch acts as a pressure vessel, trapping moisture deep within. The exterior dries and hardens, but the core remains damp. In the kiln, this sealed core becomes a steam bomb.
The solution is not just better kneading, but strategic hollowing. This is an engineering task that requires you to think about your sculpture not as a solid mass, but as a hollow vessel with load-bearing walls. You must remove interior mass while leaving a consistent wall thickness and, if necessary, adding internal buttresses or ribs to maintain structural integrity. This ensures even drying and allows any residual moisture to safely escape during firing.
Follow these steps to engineer your sculpture for a safe firing:
- Identify Stress Points: Use calipers to find any section of your greenware sculpture thicker than 1 inch. These are the highest-risk areas for trapping moisture.
- Create Access: Before the clay becomes leather-hard, carefully cut small, discreet access holes in hidden areas of the sculpture (e.g., the underside of the base, behind a fold of drapery).
- Hollow Methodically: Using loop tools, carefully remove clay from the interior through the access holes, working to achieve a uniform wall thickness of approximately 3/8 to 1/2 inch.
- Add Internal Buttresses: If hollowing compromises the structural integrity of a cantilevered or delicate section, add small coils of clay inside to act as internal support ribs before sealing the access holes.
- Ventilation is Key: Before firing, ensure you create a tiny, almost invisible pinhole (a “weep hole”) that goes all the way through the wall in an inconspicuous spot. This acts as a final safety valve for any remaining steam.
By treating your pre-fired sculpture as a pressure vessel that needs to be structurally sound, you are once again engaging in a gravitational and thermal engineering dialogue.
Where to Place the Focal Point for a 360-Degree Viewer Experience?
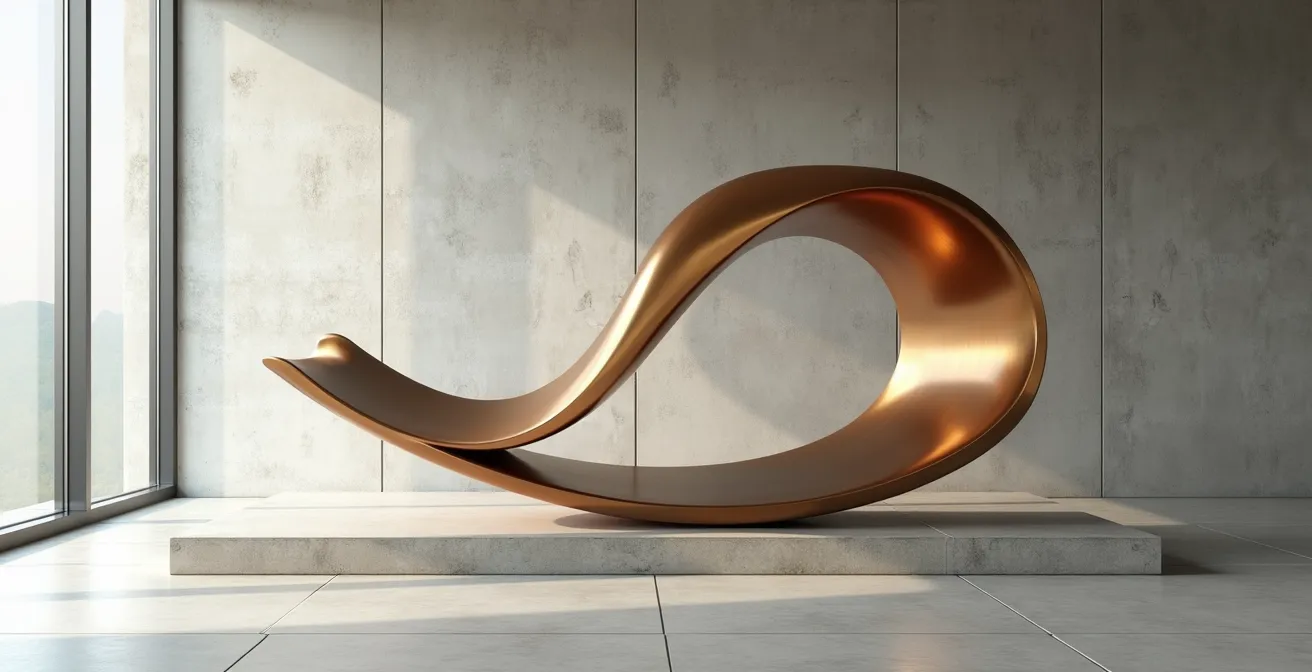
In a static, two-dimensional artwork, the focal point is a fixed location. In a 360-degree sculpture, the focal point is a dynamic experience, not a single spot. It is intrinsically linked to the sculpture’s physical balance and center of gravity. As a viewer moves around the piece, their eye is naturally drawn to areas of high tension, complexity, or cantilevered mass—the very places where the sculptor has had their most intense dialogue with gravity. A successful 360-degree sculpture doesn’t have one focal point; it presents a choreographed path of visual interest that guides the viewer’s gaze.
The most compelling focal points often exist at the point of most audacious balance. Consider a figure balanced on one toe. The physical point of contact with the ground is the fulcrum of the entire gravitational system, and it inevitably becomes a powerful visual anchor. Your job as the sculptor-engineer is to control this experience. You can create a spiral of forms that leads the eye upwards, culminating in a delicate, cantilevered element that serves as the visual climax. This is where the physical balance and the aesthetic composition merge.
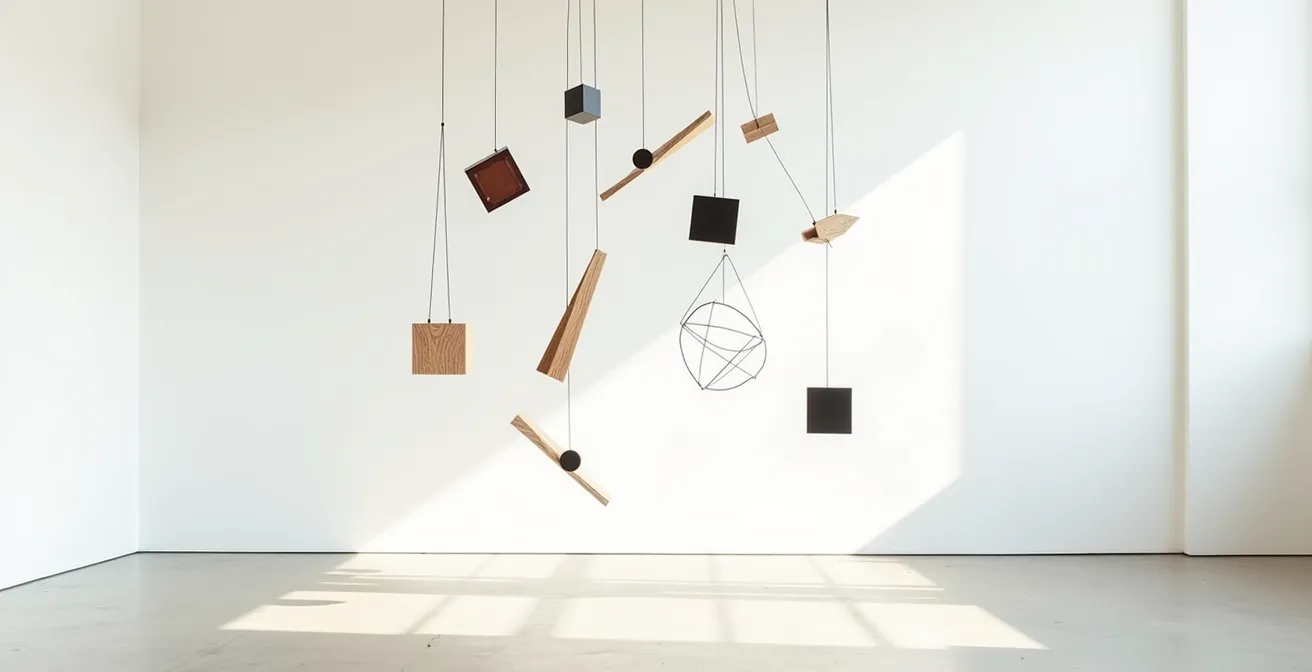
In kinetic sculptures, this concept is literal. As the piece moves, both its center of gravity and its visual focal points shift in a constant, fluid dance. The balance is not static but a continuous act of re-equilibration. This demonstrates the ultimate goal for any 360-degree work: to create a form that is visually engaging from all angles because its structural and gravitational story is compelling from every viewpoint.
The visual journey you create for the viewer is a direct narrative of your battle with and mastery over the physical forces at play.
How to Stack Speaker Boxes to Avoid Phase Cancellation Outdoors?
This question, seemingly from the world of audio engineering, holds a profound and direct analogy for sculptural balance: the management of negative space. In acoustics, phase cancellation occurs when sound waves from two speakers interfere destructively, creating “dead spots” where the sound is weak or nonexistent. In sculpture, a similar destructive interference can happen visually. As audio engineer and structural consultant Paul Kassabian notes, the principles are surprisingly parallel.
Managing negative space in a sculpture is like avoiding phase cancellation in audio – both require understanding how waves (visual or sonic) interact constructively or destructively. The sculptor must consider how forms ‘vibrate’ visually across space.
– Paul Kassabian, PE, Structure Magazine
Just as an audio engineer arranges speakers to ensure their sound waves combine constructively, a sculptor must arrange solid forms (positive space) and voids (negative space) so they reinforce each other. If two significant negative spaces overlap from a certain viewpoint, they can “cancel” each other out, creating a visually confusing or weak composition. The voids can lose their distinct shape and power. The key is to think of the edges of your solid forms as generating “visual waves” that travel across the negative space. Your goal is to ensure these waves interact to create rhythm and harmony, not chaos.
This table translates core audio engineering concepts into their visual equivalents for sculpture, providing a new vocabulary for analyzing balance and composition.
| Audio Concept | Visual Sculpture Equivalent | Application |
|---|---|---|
| Frequency | Repetition of Forms | Regular spacing creates visual rhythm |
| Amplitude | Scale of Elements | Size variation creates visual dynamics |
| Phase Cancellation | Negative Space Interference | Overlapping voids can diminish impact |
| Resonance | Visual Echo/Symmetry | Repeated forms amplify visual weight |
By thinking like an audio engineer, a sculptor can learn to compose with negative space, ensuring the “silent” parts of the work contribute powerfully to the balance of the whole.
How to Map Video Projections onto 3D Sculptures for Stage Design?
Projection mapping on a 3D surface is the ultimate tool for manipulating a sculpture’s perceived balance. It allows you to divorce the object’s visual properties from its physical mass. A physically lightweight, hollow form can be made to look like it’s carved from solid granite. A massive, heavy base can be made to appear as if it’s made of flowing water. This is where the sculptor-engineer becomes a magician, using light to rewrite the laws of physics in the viewer’s mind. To be effective, this requires immense precision; professional projection mapping on sculptures requires a 4K resolution minimum to maintain the illusion on complex curves without pixelation.
The process is a digital extension of the gravitational dialogue. You are not just adding color or texture; you are actively altering the sculpture’s perceived material properties and, therefore, its perceived weight and stability. You can create animated stress lines that appear to emanate from the true center of gravity, making the invisible forces visible. Or you can do the opposite: project a “weightless” texture like clouds onto the heaviest part of the structure to create a profound sense of cognitive dissonance and wonder.
Creating this illusion of dynamic balance involves a clear, technical workflow:
- Digital Twinning: First, create a precise digital 3D model of the physical sculpture, often using a 3D scanner. This digital twin is the canvas for the projection mapping software.
- Inverting Perceived Weight: Map heavy textures, such as cracked concrete or rusted metal, onto physically light upper sections of the sculpture. Conversely, map light or ephemeral textures, like flowing water or smoke, onto the solid, heavy base.
- Animating Forces: Program animated lines that pulse or flow from the sculpture’s actual center of gravity outwards to its extremities. This visually expresses the internal structural forces.
- Simulating Life: Create a slow, subtle “breathing” effect by programming a gentle 2-3 second cycle of light and shadow expansion and contraction, making a static object feel organically alive and dynamically balanced.
This technique represents the pinnacle of engineered impossibility, where the final balance is a carefully crafted illusion existing at the intersection of mass, structure, and light.
Key Takeaways
- True balance is an engineering discipline, not an accident. It requires calculating the center of gravity and designing an internal structure to counteract it.
- Advanced techniques like multi-density casting and projection mapping allow you to control the perceived weight, creating illusions that defy physics.
- Every aspect of sculpture—from material choice to hollowing techniques to managing negative space—is part of a structural system that must be engineered for stability.
How to Paint a Mural on a Public Wall Without Getting Arrested?
While the title seems to address a legal issue, its core challenge—installing permanent art in a public space—is fundamentally an engineering one. A mural is a 2D application, but a public sculpture must contend with 3D forces far beyond the gravity in a studio. Wind, weather, and even the public itself become active loads in the structural equation. Before any permit is issued, a city’s building department will require sealed structural calculations from a Professional Engineer (PE) proving the sculpture can withstand these forces. This is the final exam for the sculptor-engineer.
The engineering for public art is rigorous. For example, the iconic carbon-fiber MIT Kendall Pavilion, which appears to float on impossibly slender supports, had to be engineered to withstand a complex array of forces. As detailed in a case study in Structure Magazine, engineers used the formula p = qh.Kd.(GCp) to calculate wind pressure and designed for 115mph winds. Furthermore, they had to account for the “human factor,” applying a 200-pound point load test to simulate people trying to shake it, and even factoring in vibrations from the active metro station below it.
This level of analysis is non-negotiable. The process involves a checklist that merges legal compliance with structural engineering standards, such as those from the American Society of Civil Engineers (ASCE).
- Calculate Wind Loads: Using the ASCE 7-16 standards and your specific location’s wind speed map, calculate the maximum wind pressure the sculpture will face.
- Apply Safety Factors: Engineer the structure with a safety factor of 1.6 for permanent installations. This ensures it can handle loads significantly higher than predicted.
- Engineer for the ‘Human Factor’: Design the sculpture and its footing to withstand unexpected lateral loads, such as several people attempting to climb or push it (typically a 200-400 pound force).
- Submit Sealed Calculations: Your structural plans and calculations must be reviewed and sealed by a licensed Professional Engineer (PE) before submission to the local building department.
- Include a Maintenance Plan: The submission must include a long-term maintenance plan detailing a schedule for inspecting critical welds, fatigue points, and potential weather damage.
Ultimately, a successful public sculpture is the highest expression of engineered balance, a piece that has proven its stability not just against its own weight, but against the dynamic and unpredictable forces of the world itself.
Frequently Asked Questions on How to Balance a Sculpture Without Visible Supports?
How do I know if I’m suited for subtractive (carving) versus additive (modeling) sculpture?
Carvers typically have strong spatial visualization skills and comfort with irreversible decisions. They often work intuitively and can mentally rotate 3D forms. Modelers prefer iterative processes, value the ability to correct mistakes, and often work more analytically, testing balance at each stage.
Can I combine both approaches in a single sculpture?
Yes, hybrid approaches are common among professionals. Many sculptors carve a dense core from wood or stone to establish the primary balance equation, then model lighter details with clay or wax on the surface. This combines the stability of carving with the flexibility of modeling.
What’s the mathematical approach to predicting balance before carving?
Use the center of gravity formula: CG = Σ(mass × position)/Σmass. For complex shapes, divide the form into simple geometric sections, calculate each section’s contribution, then sum them. This helps predict how material removal will shift the balance point.