Your 30-second gesture drawings feel stiff and robotic because you’re drawing isolated shapes, not interconnected forces. The key to capturing life is to stop seeing outlines and start understanding the body as an anatomical system of weight, tension, and energy flow. This guide will retrain your eye to see the structural truths of a pose, allowing you to capture its dynamic essence in mere seconds.
The timer buzzes. You look down at your paper, and staring back is a stiff, wooden mannequin. It has the right number of limbs, but it lacks the one thing that matters: life. For any life-drawing student, this is a familiar frustration. You’ve heard the advice a thousand times: “focus on the line of action,” “don’t get lost in detail,” “just draw faster.” While true, this advice only addresses the symptoms, not the root cause of a static drawing.
The problem isn’t how fast your hand moves; it’s how your brain perceives. A lifeless drawing comes from an eye that sees a collection of parts—an arm, a leg, a torso. A living drawing comes from an eye that sees a unified structural system in a constant state of dynamic tension.
But what if the true key to capturing gesture wasn’t about drawing outlines at all, but about sculpting the invisible forces of weight, balance, and energy that animate the human form? This is the perspective of an anatomist, and it’s the shift in perception that can transform your work. Forget drawing what the figure *looks* like; you must learn to draw what the figure is *doing*.
This article will deconstruct that process. We will explore how to see the figure structurally, from analyzing negative space and using your tools to create mass, to understanding the cognitive traps that make us draw symbols instead of reality. We will then dive into the physics of a pose, learning to identify the “statue mistake” and finally mastering the principles of balance that give a figure its potential for movement.
Summary: How to Capture the Gesture of a Pose in Under 30 Seconds
- Why Does Drawing the Space Between the Arms Help You Get Proportions Right?
- How to Use Your Pencil to Measure Head Heights From a Distance?
- Line or Tone: Which Is Faster for Establishing Mass?
- The “Eye Symbol” Mistake: Why You Draw What You Know Instead of What You See?
- How to Hold Charcoal to Engage Your Shoulder Instead of Your Wrist?
- Why Does Obsessing Over Mistakes Kill the Vibe of a Performance?
- The “Statue” Mistake: Why a Static Stage Presence Bores the Audience?
- How to Balance a Sculpture Without Visible Supports?
Why Does Drawing the Space Between the Arms Help You Get Proportions Right?
When a figure appears stiff, the cause is often a failure to see it as a complete, integrated shape. We get lost drawing an arm or a leg and forget how it connects to the whole. Drawing negative space—the area around and between the figure’s limbs—is a powerful anatomical tool because it forces you to stop seeing parts and start seeing a unified structure. By carving out the shapes of the empty space, you are simultaneously defining the outer contours of the positive form. This is not just a trick; it’s a fundamental shift in perception.
From a design standpoint, this practice is crucial. The relationship between positive form and negative space dictates the balance and harmony of the entire composition. Indeed, many artists believe that improving the balance between negative and positive space is a key element of enhancing a design. When you draw the triangle of space between an arm and the torso, you are not just guessing at an angle; you are defining the precise relationship between the ribcage and the humerus. You are thinking structurally.
Integrating this into a 30-second pose requires discipline. Instead of starting with an outline of the figure, start by rapidly blocking in the major shapes of negative space. Is there a large gap between the legs? A sharp, angular space under the chin? Seeing these abstract shapes helps you bypass the part of your brain that wants to draw a “leg” or a “chin” and instead forces you to record the raw, structural relationships you actually see. This makes your proportions more accurate because they are born from observation, not assumption.
How to Use Your Pencil to Measure Head Heights From a Distance?
The “sighting” or pencil measurement technique is a classic method for establishing proportion, but in the context of a 30-second gesture, it carries a significant risk. The technique itself is simple: extend your arm fully, lock your elbow, and use your pencil to measure a key unit (typically the head) against the model. You then use that unit to map out the rest of the body. However, an over-reliance on this mechanical measurement can kill the very energy you’re trying to capture. It pulls you from a right-brained, intuitive state into a left-brained, analytical one.
The true purpose of the 30-second time limit isn’t to produce a finished drawing; it’s to force ruthless prioritization. As one analysis of the process notes, the short window demands you prevent yourself from getting sucked into details and instead “absorb and capture the direction and energy of the complete figure.” In this context, sighting should be used sparingly, perhaps for one quick initial check to establish the figure’s overall height or the halfway point. Wasting precious seconds measuring every limb is a direct path to a stiff, calculated drawing.
Think of it as a reality check, not a construction blueprint. The goal of a gesture drawing is to capture the energy flow and structural forces, not to create a perfectly rendered illustration. Use a quick sight measurement to anchor your drawing on the page, then immediately transition back to capturing the sweep of the spine, the tilt of the hips, and the distribution of weight. The spirit of the pose is found in these dynamic relationships, not in a mathematically perfect set of measurements.
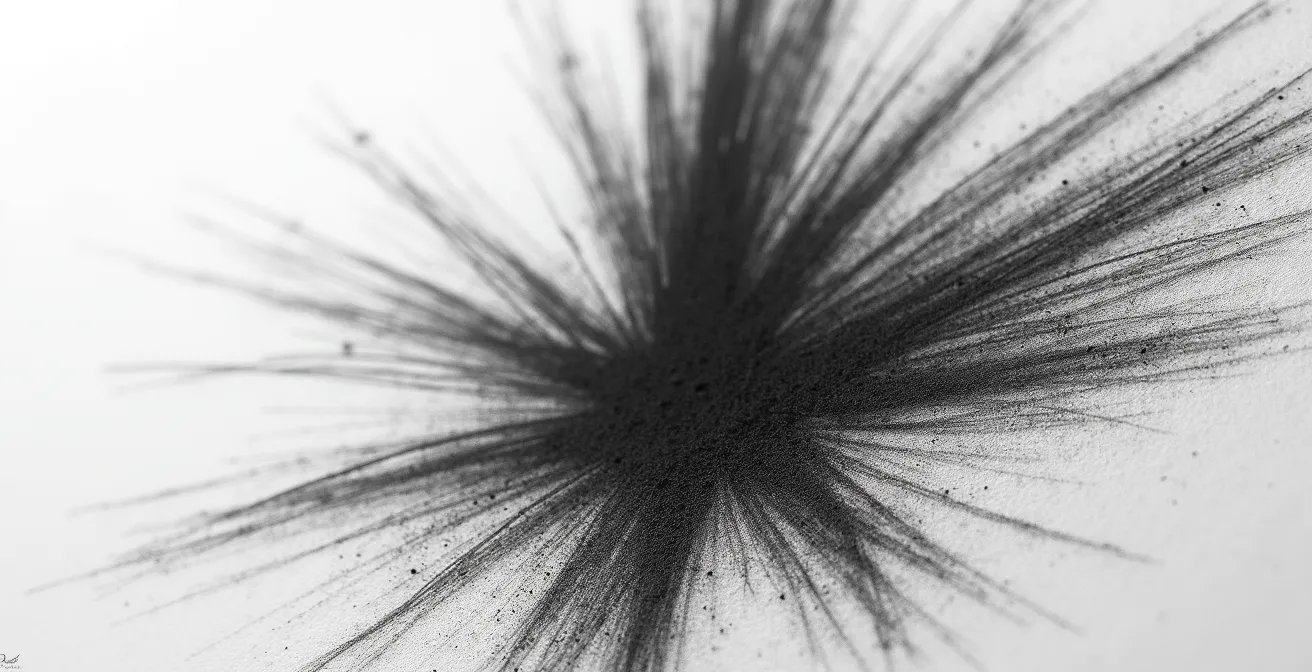
Line or Tone: Which Is Faster for Establishing Mass?
When the clock is ticking, every mark must be efficient. The choice between using line to define contour and tone to establish mass is a critical strategic decision. There is no single correct answer; the optimal approach depends on the pose and your primary goal. Line is unparalleled for capturing direction, energy, and the path of movement. Tone, applied with the broad side of a piece of charcoal, is faster for conveying weight, volume, and the way form occupies space.
For a 30-second gesture, a pure line drawing using vine charcoal is often the quickest way to map out the figure’s primary force-lines. You can describe the sweep of the spine, the thrust of a hip, and the reach of a limb in just a few seconds. However, this can sometimes result in a “wireframe” figure that lacks a sense of weight. Conversely, starting with broad tonal masses can immediately ground the figure, but you might lose the initial gestural energy if you’re not careful.
The following table, based on common charcoal drawing practices, breaks down the strategic uses of each technique.
| Technique | Best For | Charcoal Type | Speed |
|---|---|---|---|
| Line Drawing | Quick gestures, energy, direction | Vine charcoal, charcoal pencil | Very fast |
| Tonal Drawing | Mass, weight, volume | Compressed charcoal, charcoal powder | Fast with broad strokes |
A combined approach often yields the most dynamic results. Start with a few light, energetic lines to capture the core gesture. Then, without hesitation, use the side of the charcoal to lay in the major shadow masses of the torso and pelvis. This allows you to capture both the direction of energy and the distribution of weight simultaneously. As one drawing instructor puts it, the goal is to commit to an approach based on instinct. As they explain in their tutorial on gestures and quick drawing strategies, “go with just instinct, feeling, just get down the overall gesture I feel in the pose because there is nothing more I can hope for in 30 seconds.”
The “Eye Symbol” Mistake: Why You Draw What You Know Instead of What You See?
One of the greatest barriers to capturing a dynamic gesture is your own brain. Your brain is a highly efficient pattern-matching machine. When it sees an eye, it doesn’t see a complex arrangement of light, shadow, and subtle curves; it sees a pre-packaged “eye symbol,” often a simple almond shape with a circle inside. You then draw that symbol, not the complex reality in front of you. This cognitive shortcut is the “eye symbol” mistake, and it applies to every part of the body. You draw the symbol of a hand, the symbol of a foot, and the symbol of a torso, resulting in a drawing that feels generic and robotic.
The 30-second time constraint is a powerful weapon against this tendency. By forcing you to move quickly, it short-circuits the part of your brain that wants to categorize and simplify. Experts often recommend warming up with extremely short poses for this very reason. It’s not about producing a good drawing; it’s about forcing your brain to let go of its symbolic library and take risks based on pure visual information. This practice trains you to see shapes, angles, and relationships of value rather than identifiable objects.
To actively combat the “eye symbol” mistake, you need to trick your brain into abandoning its shortcuts. This requires specific drills designed to de-symbolize what you’re seeing. The goal is to transform the familiar human form into an abstract collection of shapes and lines.
Your Action Plan: Drills to De-Symbolize the Figure
- Draw Upside-Down: Turn your reference photo upside-down. This makes it difficult for your brain to recognize “a leg” or “an arm,” forcing you to see only abstract shapes.
- Focus on Light-Shapes: Instead of drawing the figure, draw the shapes of the light hitting the figure. Squint your eyes to simplify the forms into a few major value masses.
- Practice ‘Scribble Gestures’: Keep your charcoal in constant contact with the paper, moving in a continuous, flowing scribble to find the form. This prioritizes movement over static outlines.
- Hunt for Curves: Actively search for the primary C-curves and S-curves that define the flow of the pose. Avoid straight, rigid lines wherever possible.
- Draw the Negative Spaces: As discussed earlier, focusing on the shapes around the figure is the ultimate way to bypass your internal symbols for the figure itself.
By practicing these drills, you train your perception to operate on a more fundamental level. You learn to trust your eye over your brain, which is the foundational skill for capturing the unique and dynamic truth of any pose.
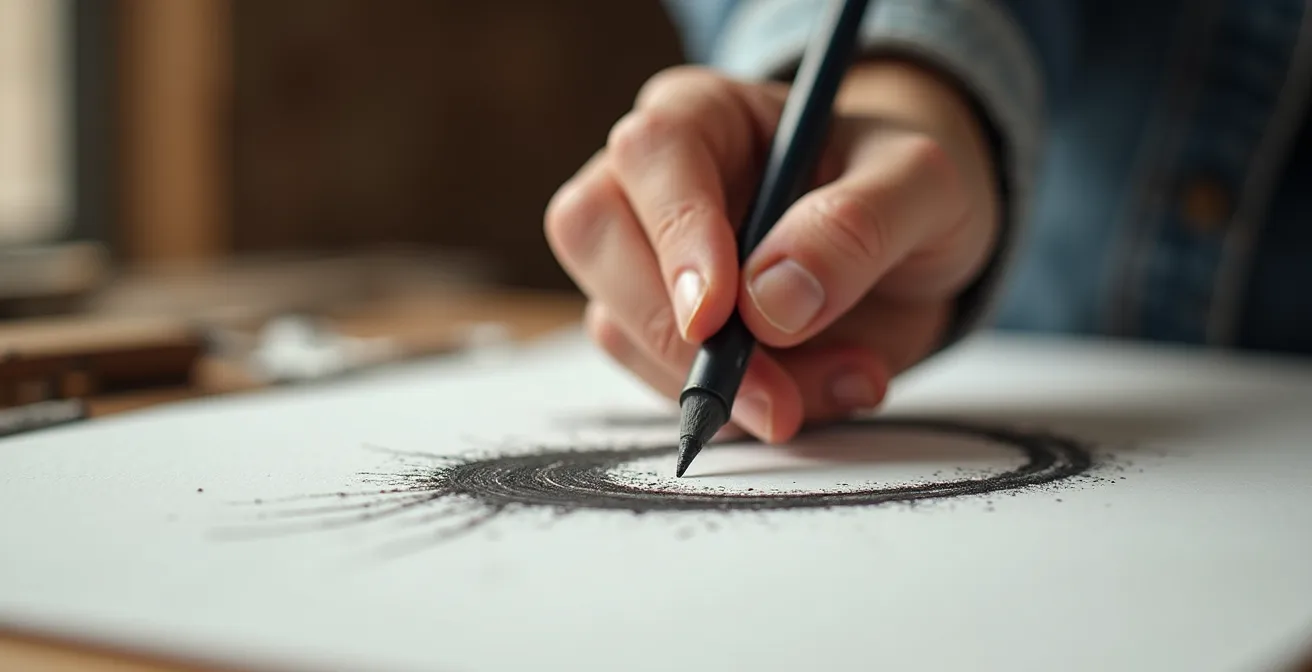
How to Hold Charcoal to Engage Your Shoulder Instead of Your Wrist?
A dynamic line cannot come from a static body. If your gesture drawings feel weak or hesitant, the problem may lie in your physical approach. Drawing from the wrist, a habit learned from writing, uses small, precise muscles. This is ideal for detail but terrible for capturing the broad, energetic sweep of a gesture. The energy in a line comes from the large muscle groups of your arm and shoulder. To unlock this, you must change your grip.
Instead of holding the charcoal like a pencil, use an “overhand” grip. Hold the stick of charcoal or a charcoal pencil between your thumb and forefinger, with your palm facing down toward the paper. This grip makes it awkward to draw with your wrist and naturally encourages you to initiate marks from your elbow and shoulder. This is a fundamental shift in the mechanics of drawing. You are no longer just moving your hand; you are directing your entire arm as a single, expressive unit.
Use your elbow and shoulder to lead your movements while holding the charcoal—instead of just your wrist. Grip the charcoal softly while working on the outline or other basic details of the drawing.
– Upwork Art Resources, How To Draw With Charcoal: A Guide For Beginners
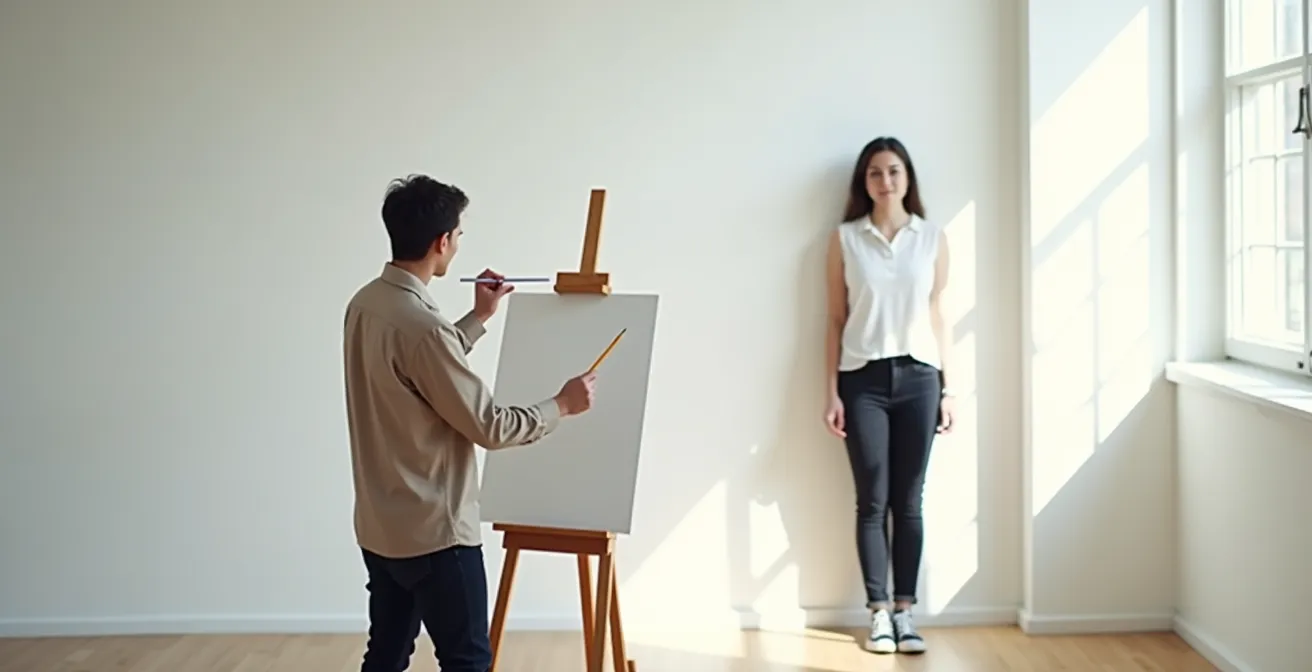
This technique connects the mark on the page directly to the core of your body. The force-line you draw becomes an extension of the physical force you exert. Your lines will become more confident, fluid, and full of life because they are born from a larger, more powerful movement. Stand up when you draw, work on an easel rather than a desk, and allow your whole body to participate in the act of creation. This physical engagement is essential for translating the dynamic energy of the model onto your page.
Why Does Obsessing Over Mistakes Kill the Vibe of a Performance?
Every gesture drawing is a performance. It’s a single-take, unedited response to a fleeting moment. In this context, the concept of a “mistake” is not only unhelpful, it’s destructive. When you stop to erase or correct a “wrong” line, you break the flow. You kill the rhythm. The energy of the pose dissipates, and you are left with a hesitant, overworked drawing that has lost all its vitality. The obsession with accuracy is the enemy of expression.
You must redefine what constitutes success in a 30-second drawing. It’s not about achieving a perfect likeness. As the “Single Take Performance Mindset” suggests, “If all you get in your 30 seconds is a single line that defines the flow of energy/the weight of the pose, that is a success.” This is the core principle. A single, confident line that captures the spinal engine of the pose is infinitely more successful than a hundred timid, corrected lines that describe a static outline.
The “mistakes” and overlapping marks are not errors; they are a record of your search. They show the path your eye and hand took to understand the form. These searching lines have their own beauty and energy. They reveal the process, the struggle, and the discovery. Embracing this “Wabi-sabi” approach—finding beauty in imperfection—is liberating. It allows you to commit to each mark without fear. Let the lines build up. Let them cross over. The final form will emerge from this network of exploration, carrying with it the history of your performance.
The “Statue” Mistake: Why a Static Stage Presence Bores the Audience?
The “statue mistake” is the root cause of a stiff, robotic figure. It occurs when you draw the body as if it were a rigid sculpture, perfectly balanced and devoid of tension. In reality, a living body is never truly static. Even in a seemingly still pose, it is a system of controlled imbalance. Muscles are firing to counteract gravity, weight is shifted onto one leg, and the torso is twisting or tilting. A pose is not a state of being; it’s a moment captured between movements. Your drawing must reflect this potential energy.
The key is to see the body as an anatomical structure designed for movement. Look for the opposition of angles between the shoulders and the hips, a principle known as contrapposto. This tilt is the primary indicator of weight distribution. If the right hip is higher, the weight is almost certainly on the right leg. This creates a cascade of effects: the right side of the torso will be compressed (squash), and the left side will be extended (stretch). Capturing this interplay of squash and stretch is what gives a figure volume and life.
To avoid the statue mistake, you must actively hunt for the forces at play. Don’t just draw the outline of the pose; draw the *story* of the pose. Where did the body just come from? Where is it about to go? Exaggerating the curves and twists can help communicate this narrative of movement. Look for the potential energy stored in the muscles, ready to be released. This turns a static snapshot into a frame from a motion picture. Experts recommend starting every drawing session with quick gestures specifically to train this skill, with some practice guidelines suggesting at least five minutes of 30-second poses daily to build this perceptual habit.
Your goal is to capture the figure at the peak of its dynamic tension, the moment just before or just after it settles. This is the essence of gesture.
Key Takeaways
- Gesture is about seeing anatomical forces like weight and tension, not just drawing outlines.
- The 30-second limit is a training tool to force priority and intuitive decision-making, not a race to a finished product.
- Engage your entire arm and shoulder, not just your wrist, to create lines that are filled with energy and confidence.
How to Balance a Sculpture Without Visible Supports?
While the title refers to sculpture, the underlying principle is the most critical lesson for any figure artist: understanding structural balance. A sculpture stands because its center of gravity is correctly managed over its base of support. A drawing feels grounded and believable for the same reason. Your drawn figure must obey the laws of physics. If it looks like it’s about to fall over—and not in an intentional, dynamic way—you have failed to capture its structural truth.
To check for balance, use the “plumb line” technique. Imagine a vertical line dropping from the pit of the neck (the suprasternal notch) down to the floor. In a stable, standing pose, this line should fall between the feet. This establishes the figure’s center of gravity. If the figure is leaning or in motion, the plumb line will fall outside the base of support, and you must then indicate the counterbalancing forces that are preventing a fall. Is an arm thrown out for balance? Is the body tensed in a way that suggests it’s pushing off the ground?
A believable pose is a demonstration of gravity management. Look for the “tripod of support.” This might be between the two feet and the lean of the body, or between one foot, one hand, and a hip. Identifying this structural foundation will anchor your drawing in reality. The most dynamic poses often capture a moment of maximum controlled imbalance—the peak of a leap, the turning point in a step. This is the moment before gravity reclaims control. Capturing this “tipping point” is what fills a drawing with life and anticipation. It’s what allows an artist to create a complete feeling of movement in a very short time. As some experts note, a gesture drawing could be done in “just a few seconds with just one or two expressive lines” if those lines correctly describe this balance and energy.
By shifting your focus from rendering surfaces to understanding the anatomical structure and physical forces at play, you transform your practice. The 30-second time limit ceases to be a source of anxiety and becomes your greatest tool for learning to see with clarity and draw with intention. Begin your next life-drawing session by applying these principles of force, weight, and balance.