In summary:
- Going pro isn’t selling out; it’s a power move that requires translating street code into legal contracts.
- Understanding surface science (brick vs. concrete) is crucial for your art’s longevity and your budget.
- Legal protection for your work starts with a written agreement; a handshake deal is a losing game.
- Community engagement isn’t just polite, it’s the best defense against your mural being defaced.
- Mastering the legal and business side (contracts, copyright) is what separates a writer from a professional artist.
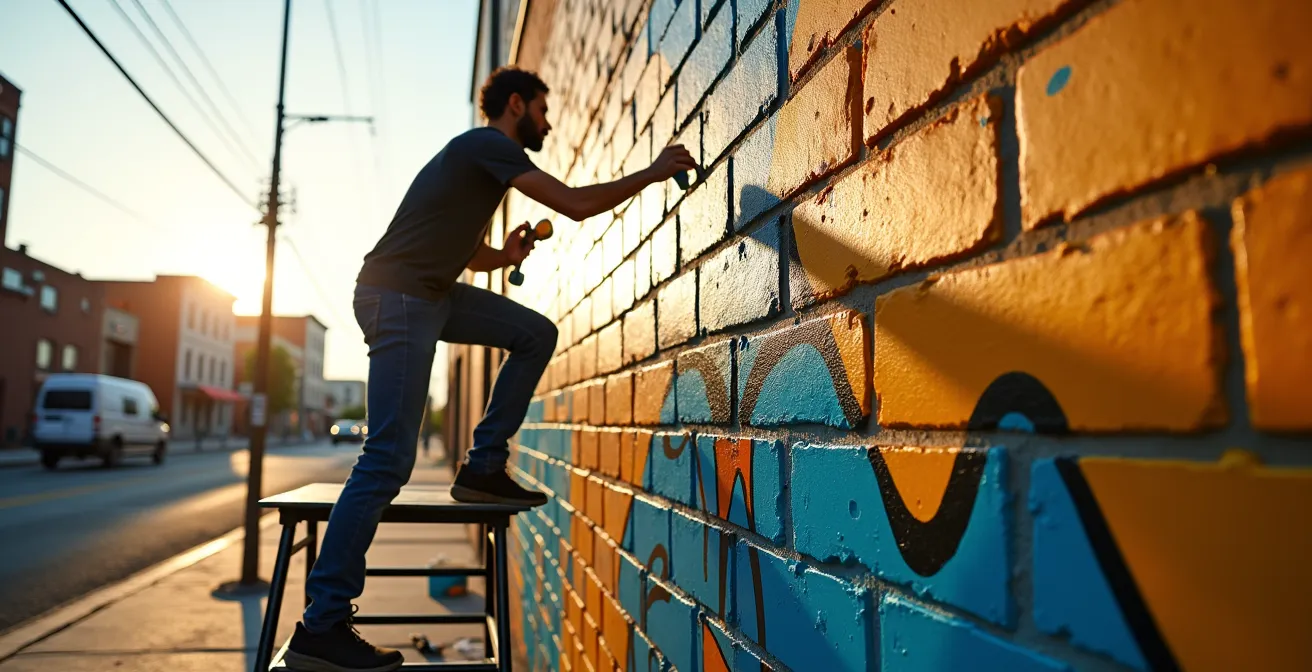
You know the feeling. The hiss of the can, the city sleeping around you, and the raw satisfaction of seeing your piece come to life on a blank wall. It’s an adrenaline rush built on skill, risk, and a deep respect for the unwritten rules of the street. You know your lines, your colors, and your place in the hierarchy. But you also know the risks: the temporary nature of the work, the legal heat, and the constant feeling of looking over your shoulder.
Many will tell you the only way out is to get a formal art degree or to simply “ask for permission.” They talk about public art in sterile, academic terms that feel a world away from the concrete and steel you know. They miss the point entirely. They don’t understand the code, the culture, or the craft that got you here. They think the leap from a tag to a commission is just about finding a client, but it’s much deeper than that.
What if the real key to “going legit” wasn’t about abandoning your roots, but about leveling them up? The secret is learning to translate the unspoken laws of the street into the ironclad language of contracts and public engagement. It’s about taking the respect you’ve earned in the subculture and demanding it in the professional world. This isn’t about becoming a sellout; it’s about becoming a strategist so your work gets the permanence and recognition it deserves.
This guide will walk you through that transition. We’ll break down the science of your canvas, the art of scaling your vision, the ethics of covering old work, and the legal armor you need to build a lasting career. We’re moving from the shadows into the spotlight, but on your own terms.
This article provides a comprehensive roadmap for any artist looking to transition into professional mural work. Explore the sections below to master the technical, ethical, and legal aspects of the craft.
Summary: How to Paint a Public Mural: The Pro’s Guide to Going Legit
- Why Does Brick Absorb Paint Differently Than Concrete?
- How to Scale a Sketch to a 20-Foot Wall Using the Doodle Grid Method?
- Tag or Piece: Understanding the Unwritten Rules of Covering Work?
- The “Respirator” Mistake: Why Painting Without a Mask in an Alley Is Dangerous?
- When to Ask Locals for Input to Prevent Your Mural From Being Defaced?
- The “Handshake” Mistake: Why Unsigned Agreements Are Unenforceable in Court?
- Why Does Linen Canvas Last 100 Years Longer Than Cotton Duck?
- The 360 Deal Explained: Why This Contract Clause Is a Red Flag for Indies?
Why Does Brick Absorb Paint Differently Than Concrete?
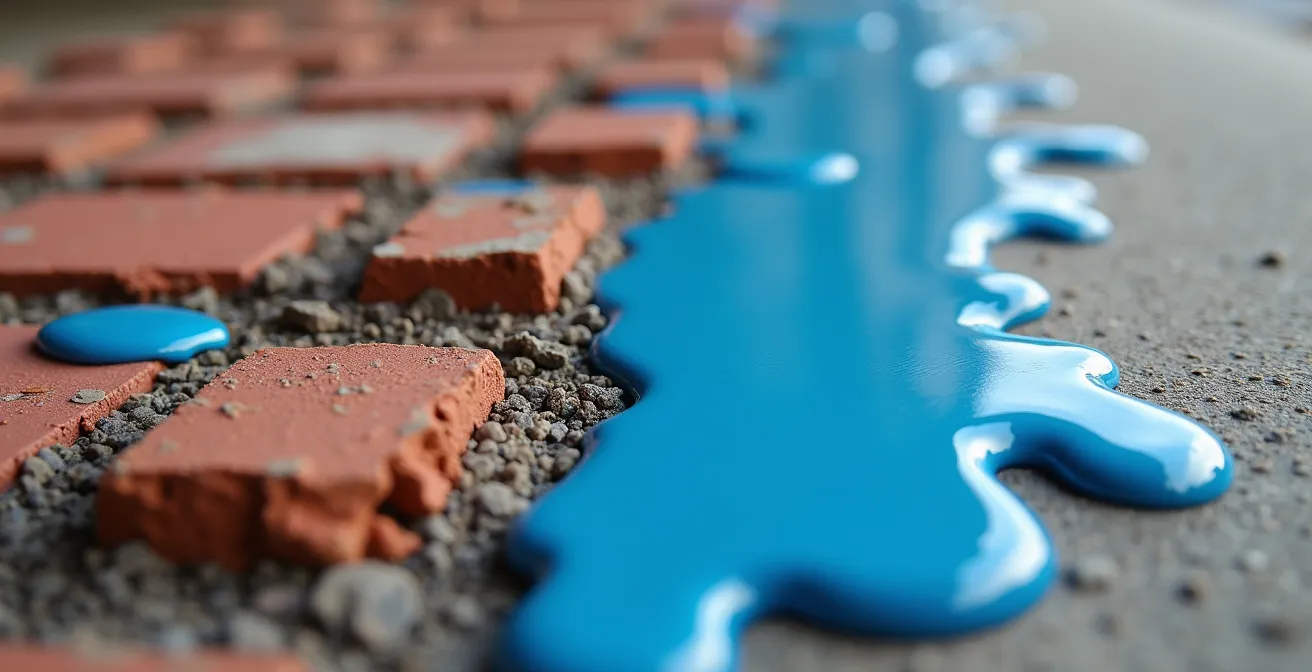
Before you even think about your design, you need to read the wall. A wall isn’t just a wall; it’s your canvas, and different surfaces behave in radically different ways. The most common mistake new muralists make is treating every surface the same. Understanding the science of your surface is the first step toward creating work that lasts. Brick and concrete, the two most common urban canvases, are a perfect example of this. Brick is a sponge; concrete is a stone.
The core difference is porosity. Old, weathered brick is incredibly porous, with a network of tiny holes and rough textures. When you apply paint, the brick drinks it up. This means you’ll need significantly more paint to achieve vibrant, even coverage. In contrast, smooth, sealed concrete has a much lower porosity. The paint sits on top of the surface rather than soaking in, giving you truer colors with less product. Budget calculations should account for the fact that you may need 30-50% more paint on old brick versus sealed concrete. This difference in absorption directly impacts your budget, your timeline, and the final look of your piece.
This textural difference also dictates your tools and techniques. A roller that works great on a smooth concrete wall will be inefficient on historic brick, failing to get paint into the deep mortar joints and crevices. For brick, a combination of brushing and rolling is often necessary to force the paint into the texture. Your choice of primer is also critical. A masonry sealer on a cinder block or stucco wall fills the pores and creates a uniform, non-absorbent base, saving you gallons of expensive color. Ignoring this “surface science” means your masterpiece could fade, peel, or crack within a year, while a well-prepped wall will hold your work for a decade or more.
How to Scale a Sketch to a 20-Foot Wall Using the Doodle Grid Method?
Your black book is filled with killer designs, but that 5×7 inch sketch feels a world away from a 20-foot brick wall. Scaling up is where many talented artists falter. A design that looks tight in a sketchbook can become a distorted, amateurish mess on a large scale if the transfer process isn’t precise. The “Doodle Grid” method, a classic for a reason, is the most accessible and reliable way to ensure your proportions stay true from paper to wall. It’s a low-tech solution that delivers high-fidelity results.
The concept is simple: if you draw a grid over your small sketch (e.g., 1-inch squares), you can then replicate a larger-scale grid on the wall (e.g., 1-foot squares). You then transfer the contents of each small square to its corresponding large square on the wall. This breaks the intimidatingly large surface down into manageable chunks, allowing you to focus on one section at a time while maintaining the integrity of the overall composition. The key is precision in your initial grid. Use a chalk line, level, and tape measure to ensure your wall grid is perfectly square and to scale. A wonky grid guarantees a wonky mural.
Case Study: The Modular Grid System
A community center in Portland demonstrated the power of the grid by coordinating 15 volunteer artists on a massive 1,200 square-foot wall. The project manager broke the design into numbered 4×4 foot sections. Each artist received a packet with their corresponding grid section and a scaled reference image. This modular approach ensured every element from every artist lined up perfectly, creating a cohesive final piece that would have been impossible to freehand at that scale with so many contributors.
While the traditional grid is foolproof, modern technology offers alternatives. Projectors, once bulky and expensive, are now more accessible. A pico projector can be a game-changer, especially for complex designs or working at night. However, projectors have their own challenges, such as distortion on uneven surfaces and the need for a power source. They are a tool, not a crutch. Understanding the grid method first builds a foundational skill that will never fail you, even when your tech does.
This table compares the most common scaling methods, helping you choose the right one for your project’s budget and complexity.
| Method | Cost | Accuracy | Setup Time | Best For |
|---|---|---|---|---|
| Traditional Grid | $10-20 | Good | 2-3 hours | Flat walls, simple designs |
| Pico Projector | $200-500 | Excellent | 30 minutes | Complex designs, night work |
| Chalk Snap Lines | $15-30 | Moderate | 1 hour | Geometric designs, collaborative projects |
Tag or Piece: Understanding the Unwritten Rules of Covering Work?
On the street, respect is the currency. You already know the hierarchy: a simple tag is at the bottom, a throw-up is a step above, and a full-color piece is near the top. Going over someone’s work is a declaration, and doing it wrong can get you into serious trouble within the culture. This is “The Code.” You don’t cover a master’s piece with a throw-up. It’s a fundamental rule of etiquette. As you transition to legal, commissioned work, this code doesn’t disappear; it evolves and intersects with actual law.
The unwritten rule of “don’t go over a better piece” finds a legal parallel in the VARA (Visual Artists Rights Act). This federal law grants artists certain “moral rights” in their work, including the right to prevent its destruction. For a long time, it was assumed this only applied to gallery art. That changed with the 5Pointz case. In this landmark decision, a developer who whitewashed a world-famous graffiti mecca was ordered to pay the artists for destroying their work. The court ruled that aerosol art can achieve “recognized stature,” giving it legal protection. A New York court affirmed that the developer had to pay the artists after it was determined the developer won $6.75 million in damages. This case put the world on notice: a well-established mural isn’t just paint on a wall; it can be a legally protected asset.
So, what does this mean for you when you’re commissioned to paint a wall that already has work on it? First, document everything. Photograph the existing art. Second, evaluate it based on the street hierarchy. Is it a collection of low-level tags or a faded, peeling piece? Or is it a significant work by a known artist? If it’s the latter, you need to proceed with caution. The best practice, mirroring street etiquette, is to reach out to the original artist if possible. Covering a major piece without notice is not only a bad look in the community, but it could now also have legal consequences. The wall tells a story of who came before; your job is to add the next chapter, not erase the history.
The “Respirator” Mistake: Why Painting Without a Mask in an Alley Is Dangerous?
In the world of illegal graffiti, speed and stealth are everything. You wear a hoodie to hide your face, not a respirator to protect your lungs. But when you move to commissioned murals, you’re spending hours, not minutes, in front of a wall, often in enclosed spaces like alleys or with poor ventilation. The “tough guy” mentality of ignoring safety gear is the fastest way to end your career, and potentially your life. Aerosol paint isn’t just color; it’s a cocktail of volatile organic compounds (VOCs), solvents, and atomized pigments that are designed to go straight into your lungs.
Ignoring this is a rookie mistake with severe consequences. Short-term exposure can lead to dizziness, headaches, and respiratory irritation. Long-term, you’re looking at chronic bronchitis, asthma, nerve damage, and even cancer. An alleyway acts like a trap, concentrating these toxic fumes. A simple dust mask or bandana does nothing to stop these chemical vapors. You need a proper respirator with the right cartridges. The professional standard is a half-face respirator with P100 particulate filters (for paint mist) and organic vapor (OV) cartridges. This isn’t optional; it’s your most important tool after your paint.
The data doesn’t lie. Proper personal protective equipment (PPE) is a game-changer for career longevity. In fact, safety equipment statistics demonstrate that professional muralists using proper P100 respirators report 85% fewer respiratory issues than those who don’t. Think of it like this: you wouldn’t use cheap paint that fades in a year, so why treat your own body with less respect? Investing in a quality respirator is investing in your ability to keep painting for decades to come.
Choosing the right mask can be confusing. This table breaks down the options so you can make an informed choice based on your needs.
| Mask Type | Protection Level | Use Case | Price Range |
|---|---|---|---|
| Dust Mask | None for fumes | Sanding only | $1-5 |
| N95 | Particles only | Limited protection | $5-15 |
| P100 with OV | Full protection | Professional standard | $30-60 |
| Full Face P100 | Maximum protection | Extended sessions | $150-300 |
When to Ask Locals for Input to Prevent Your Mural From Being Defaced?
The fastest way to have your new, legally-painted mural buffed or tagged over is to ignore the people who live and work around it. On the street, you paint for yourself and other writers. In public art, you are a guest in someone else’s neighborhood. Showing up unannounced and changing the visual landscape of a community without any conversation is arrogant, and it will be seen as an invasion. The “Community Handshake”—proactively engaging with locals—is your best insurance policy against vandalism. It turns potential adversaries into advocates for your work.
This engagement can range from simple notifications to deep collaboration. At a minimum, people want to know what’s happening. Posting flyers with your artist statement, design mock-up, and contact info a few weeks before you start is a basic sign of respect. A better approach is to be physically present. Host an informal meet-and-greet at the wall, buy some coffee for the local business owners, and listen to their stories about the neighborhood. You aren’t asking for permission to change your art, but for their blessing to add to their home. This process builds ownership; when locals feel they are part of the process, they become the mural’s staunchest protectors.

The city of Portland, for example, has a formal process that requires notice and community input for public murals. This model has proven that engaging citizens fosters a greater sense of place and connection. The result? Approved murals that go through this process have significantly lower rates of vandalism. The community protects what it helped create. Don’t see this as a bureaucratic hurdle; see it as a strategic move. A little time spent talking to people on the front end can save you the heartache and cost of repairing a defaced piece later on.
Your Action Plan: The Ladder of Community Engagement
- Informing: Post flyers in the immediate area at least two weeks before you start. Include a rendering of the design, a brief artist statement, and your contact information or social media handle.
- Consulting: Spend time at the wall site before you paint. Introduce yourself to local shop owners and residents. Consider a simple online survey to gather feedback on themes they’d like to see.
- Involving: Organize a small design workshop. Present a few concepts and let community members vote or contribute ideas that can be integrated into the final design.
- Collaborating: Plan a “community paint day.” Designate simple, pre-outlined sections of the mural that residents, especially kids, can help fill in. This creates powerful buy-in.
- Empowering: For large-scale, long-term projects, form a small advisory committee of local stakeholders who have a real say in the design and artist selection process from the beginning.
The “Handshake” Mistake: Why Unsigned Agreements Are Unenforceable in Court?
In the street art world, your word and your reputation are everything. But when you’re dealing with clients and money, a handshake and a promise are worth nothing. This is the single biggest—and most costly—mistake artists make when transitioning to paid work. A verbal agreement is a recipe for disaster. When a dispute arises over payment, design changes, or rights, an unwritten “understanding” becomes a “he said, she said” argument that is almost impossible to win in court.
You need a contract. It’s not about mistrust; it’s about clarity. A well-written agreement is a roadmap for the project that protects both you and the client. It lays out every expectation in black and white, eliminating confusion before it starts. What if the client hates the final piece? What if they cancel the project halfway through? What if they pay the deposit but ghost you on the final payment? Without a signed document, you have very little legal recourse. The contract is your armor.
Your contract doesn’t need to be a 50-page document written by a high-priced lawyer, but it does need to cover the essentials. At a minimum, it must detail the scope of work (size, colors, final design), the payment schedule (e.g., 50% upfront, 50% on completion), and a timeline. One of the most crucial clauses is the Kill Fee Clause. This stipulates that if the client cancels the project for any reason after you’ve started work (including design work), you are still entitled to a percentage of the total fee (typically 25-50%). This compensates you for your time and for turning down other potential jobs.
And don’t assume a formal document is the only way. As legal expert Jeremy B. Talcott of the Pacific Legal Foundation notes, the key is a written record of agreed-upon terms:
An email chain with all key terms confirmed can serve as a legally binding agreement.
– Jeremy B. Talcott, Pacific Legal Foundation, Mural Law and Property Rights Interview
This is a game-changer. A clear email where you state the terms (scope, price, timeline) and the client replies with “Looks great, let’s do it” can be your safety net. The key is to get the core terms in writing. Always. No exceptions.
Key Takeaways
- Shift from Temporary to Permanent: Your material choices and surface prep determine if your art lasts a season or a decade. Think like an architect, not just an artist.
- Shift from Code to Contract: The unwritten rules of the street are your foundation, but written contracts are your professional armor. Get everything in writing.
- Shift from Solo to Social: In public art, the community is your collaborator. Engaging them is the best way to protect your work and build your reputation.
Why Does Linen Canvas Last 100 Years Longer Than Cotton Duck?
A studio painter obsesses over this question. Linen fibers are longer and stronger than cotton, making the canvas less susceptible to expanding, contracting, and rotting over time. For them, it’s the difference between a painting that hangs in a museum for centuries and one that deteriorates. For you, the street artist, this isn’t about fabric. Your “canvas” is the city itself. But the principle is exactly the same: the longevity of your work is determined by the foundation you build it on. Choosing the right wall and prepping it meticulously is your equivalent of choosing linen over cotton.
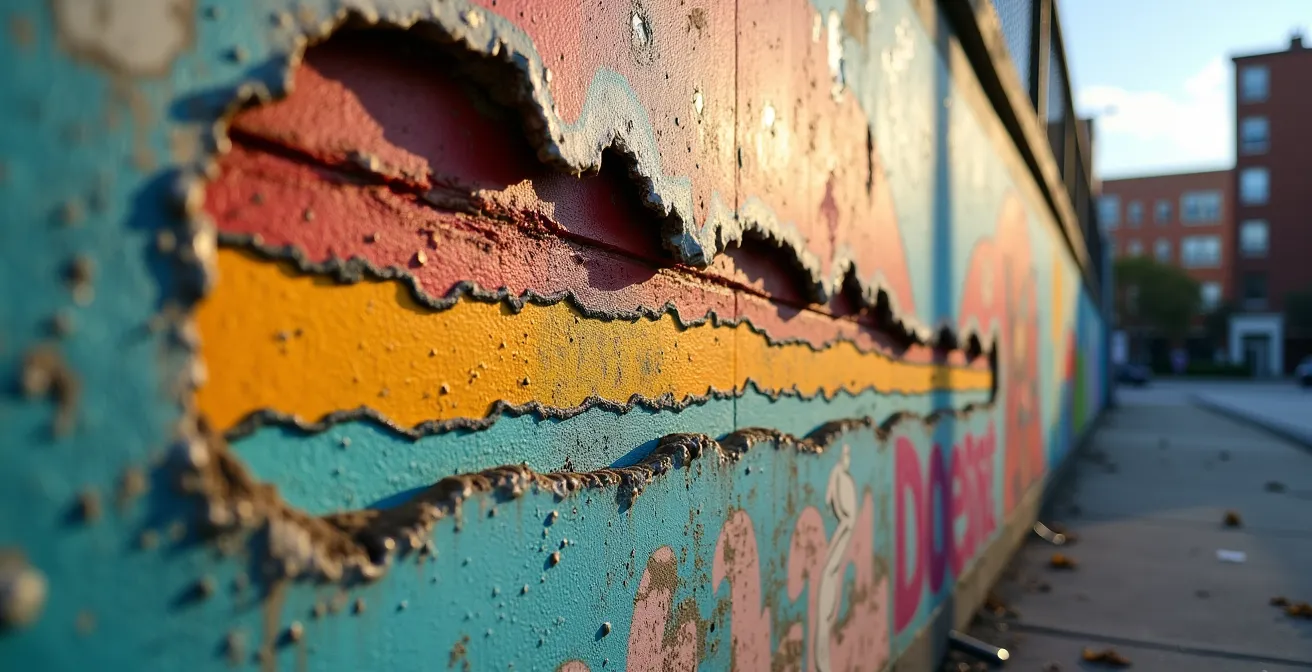
Think about the walls you see. Some murals, even old ones, are still vibrant and intact. Others, only a few years old, are a peeling, faded mess. This isn’t just luck; it’s a direct result of the artist’s foresight. Did they choose a wall that gets blasted by direct sunlight all day, ensuring the UV rays would bleach their colors? Did they pick a crumbling, water-damaged brick surface without treating the underlying issue first? Or did they find a sheltered, stable wall and invest the time to properly clean, seal, and prime it?
This is the mindset shift from a temporary hit to a permanent piece. You have to think about moisture wicking up from the ground, efflorescence (salt deposits) pushing paint off the wall, and the constant expansion and contraction of the surface with temperature changes. A cheap, quick job on a bad surface is like painting on cheap cotton duck canvas. It might look good for a moment, but you’re building its failure into it from day one. Taking the time to apply a proper masonry sealer, using high-quality, lightfast pigments, and finishing with a UV-protective and anti-graffiti clear coat is your “linen canvas.” It’s the professional discipline that ensures your legacy and reputation outlast you.
The 360 Deal Explained: Why This Contract Clause Is a Red Flag for Indies?
In the music industry, a “360 Deal” is a notorious type of contract where a record label gets a percentage of *all* of an artist’s income streams—not just album sales, but also touring, merchandise, endorsements, and publishing. It’s a rights grab that preys on new artists desperate for a break. So, what’s the muralist’s version of a 360 Deal? It’s when a client commissions you to paint a wall but writes a contract that gives them a piece of everything that comes from that art. It’s a huge red flag that you need to spot and shut down immediately.
Here’s how it looks in the real world. A client hires you to paint a mural on their cafe. The contract they present has a clause that says they have the right to use the artwork “in all media, in perpetuity.” You think this just means they can use photos of the mural on their Instagram. But what it really means is they believe they can now sell t-shirts with your design, create and sell prints of your art, use it in national ad campaigns, and even license it to other companies—all without paying you another dime. They didn’t just buy the physical mural; they’re trying to claim ownership of your intellectual property.
This is where your contract must be your shield. A standard, artist-friendly mural contract should clearly state the following: the artist (you) retains the full copyright to the image. The client is purchasing the physical mural and is granted a limited license to use photos of the mural for specific purposes (e.g., for their own social media and website to promote their business). Any use beyond that—like for merchandise, paid advertising, or prints—requires a separate licensing agreement and, most importantly, separate payment. Never, ever sign away your copyright. You are being paid for your labor and for a specific display of your art, not for the endless commercial potential of your creative idea.
Now you have the map. You understand the science of the walls, the code of the streets, and the armor of the law. It’s time to stop looking over your shoulder and start building your legacy, one wall at a time. Go out there and claim your space, professionally and permanently.